
MCP 实战——MCP 服务器的身份验证与部署
本章的目标,是把你的 MCP 服务器从原型晋级为可用于生产的服务。我们将解决上线最关键的两个方面:安全(只允许授权客户端使用你的服务器)与部署(将其运行在稳健、可扩展、可 7×24 运行的环境中)。
在本章结束时,你将能够:
- 使用 JWT Bearer Token 身份验证保护你的 MCP 服务器。
- 在工具内部**访问令牌声明(claims)**以进行授权检查。
- 用 Docker 将服务器容器化,以便可移植部署。
- 将服务器部署到现代无服务器平台 Google Cloud Run。
- 或者在传统 虚拟机 + Nginx 的方式下手动部署。
让我们先“给门上锁”,再把工坊搬到“黄金地段”。
身份验证:守住你的工具
到目前为止,任何找到你服务器 URL 的人都能调用其工具。对一个“字符计数”工具也许无伤大雅;但如果工具会访问私有数据库、代用户发邮件、或调用付费 API 呢?不受限的访问将是安全与成本的双重灾难。
**身份验证(Authentication)**就是验证客户端“是谁”。对 MCP 服务器,我们采用一种现代、标准的方法:JWT Bearer Token 身份验证。
基本思路如下:
- 一个授权服务器/身份提供商(Authorization Server / Identity Provider)向客户端签发一个JSON Web Token(JWT) ,这是带数字签名的“通行证”。
- 客户端在请求头中附带该令牌:
Authorization: Bearer <很长的 JWT 字符串>。 - 我们的 MCP 服务器作为资源服务器(Resource Server) ,无需与授权服务器通信;它只需要授权服务器的公钥,用来验证令牌签名的有效性与未被篡改。
这种方式既安全又易扩展。你的 MCP 服务器不处理密码或机密,只需验证签名令牌。下面分别用 fastmcp 与 mcp 来实现。
保护 fastmcp 服务器
fastmcp 对 Bearer Token 的配置非常简洁:既提供验证令牌的辅助类,也提供(仅用于开发演示的)创建令牌的工具。
让我们构建一个带受保护资源的服务器。
walled_mcp_server.py(fastmcp)
from fastmcp import FastMCP
from fastmcp.server.auth.providers.bearer import RSAKeyPair
from fastmcp.server.auth import BearerAuthProvider
from fastmcp.server.dependencies import get_access_token, AccessToken

# 1. Generate a public/private key pair for signing/verifying tokens.
# In production, the private key lives on an Authorization Server.
key_pair = RSAKeyPair.generate()

# 2. Configure the authentication provider.
# The server only needs the public key to verify tokens.
auth = BearerAuthProvider(
    public_key=key_pair.public_key,
    issuer="https://your-awesome-mcp-server.com",
    audience="my-mcp-server"
)

# 3. Attach the auth provider to the MCP server instance.
mcp = FastMCP("My MCP Server", auth=auth)

# 4. For demonstration, create a valid token signed with the private key.
token = key_pair.create_token(
    subject="mcp-user",
    issuer="https://your-awesome-mcp-server.com",
    audience="my-mcp-server",
    scopes=["read", "write"]
)

# 5. Save the token for our client to use.
with open("token.txt", "w") as f:
    f.write(token)

# 6. Define a protected resource.
@mcp.resource("data://database")
def get_data() -> str:
    # 7. Access the validated token's claims inside the function.
    access_token: AccessToken = get_access_token()
    print(f"Access granted! Scopes: {access_token.scopes}, Subject: {access_token.client_id}")
    return "Secret data from the database"


if __name__ == "__main__":
    mcp.run(transport="http", port=9000)
逐点说明:
- 密钥对:
RSAKeyPair.generate()生成 RSA 公私钥。私钥用于签发令牌,公钥用于验证。 - 认证提供者:
BearerAuthProvider定义安全策略:传入public_key校验签名,并指定期望的issuer(签发者)与audience(受众)。不匹配直接拒绝。 - 挂载到服务器:构造
FastMCP时传入auth=auth,即可“筑墙”——所有端点都需要有效令牌。 - 创建令牌(开发用途) :
create_token()用私钥签出带有subject(用户/客户端 ID)与scopes(权限)的 JWT。 - 保存令牌:把令牌写到文件,便于客户端读取。
- 受保护资源:被
@mcp.resource装饰的函数现在受保护。未认证请求将被拒绝。 - 访问声明:在受保护函数内部,
get_access_token()可获取已验证的令牌对象AccessToken,从而进行细粒度授权(如基于scopes或client_id的判断)。
接着是客户端:读取并携带令牌访问服务器。
walled_mcp_client.py(fastmcp)
import asyncio
from fastmcp import Client
from fastmcp.client.transports import (
    StreamableHttpTransport,
)
from pathlib import Path

# 1. Read the token from the file.
token = Path("token.txt").read_text().strip()

# 2. Pass the token to the Client constructor.
client = Client(transport=StreamableHttpTransport("http://localhost:9000/mcp"),
                auth=token)

async def main():
    async with client:
        data = await client.read_resource("data://database")
        print(data)

asyncio.run(main())
客户端逻辑非常直接:
- 读取我们生成的令牌;
- 通过
auth=token传给Client;fastmcp 会自动在每个请求里加上Authorization: Bearer ...头。
试运行:
终端
> python walled_mcp_server.py
再在新终端运行客户端:
终端
> python walled_mcp_client.py
[TextResourceContents(uri=AnyUrl('data://database'), mimeType='text/plain', meta=None, text='Secret data from the database')]
成功!服务器验证了令牌,并在 get_data 中可读取到其 claims。若去掉客户端的 auth=token,服务器将返回 401 Unauthorized。
保护 mcp 库服务器
如你所料,用更底层的 mcp 库实现会更显式,但原理完全相同:你需要手工搭建 fastmcp 已帮你封装好的组件。
walled_mcp_server.py(mcp)
import time
from typing import Any

from jose import jwt
from cryptography.hazmat.primitives import serialization
from cryptography.hazmat.primitives.asymmetric import rsa

from mcp.server.fastmcp.server import FastMCP
from mcp.server.auth.provider import TokenVerifier, AccessToken
from mcp.server.auth.middleware.auth_context import get_access_token
from mcp.server.auth.settings import AuthSettings

# 1. Create a custom token verifier class.
class SimpleJWTVerifier(TokenVerifier):
    def __init__(self, public_key: str, audience: str, issuer: str):
        self.public_key = public_key
        self.audience = audience
        self.issuer = issuer

    async def verify_token(self, token: str) -> AccessToken | None:
        try:
            payload = jwt.decode(
                token,
                self.public_key,
                algorithms=["RS256"],
                audience=self.audience,
                issuer=self.issuer,
            )
            return AccessToken(
                token=token,
                client_id=payload.get("sub"),
                scopes=payload.get("scopes", []),
                expires_at=payload.get("exp"),
            )
        except jwt.JWTError:
            return None

# 2. Manually generate RSA keys using the cryptography library.
private_key_obj = rsa.generate_private_key(public_exponent=65537, key_size=2048)
private_key_pem = private_key_obj.private_bytes(
    encoding=serialization.Encoding.PEM,
    format=serialization.PrivateFormat.PKCS8,
    encryption_algorithm=serialization.NoEncryption(),
).decode("utf-8")
public_key_pem = private_key_obj.public_key().public_bytes(
    encoding=serialization.Encoding.PEM,
    format=serialization.PublicFormat.SubjectPublicKeyInfo,
).decode("utf-8")

# 3. Instantiate the verifier and configure auth settings.
token_verifier = SimpleJWTVerifier(
    public_key=public_key_pem,
    audience="my-mcp-server",
    issuer="https://your-awesome-mcp-server.com",
)
auth_settings = AuthSettings(
    issuer_url="https://auth.my-mcp-server.com",
    resource_server_url="http://localhost:9000",
    required_scopes=["data:read"])

# 4. Attach the verifier and settings to the server.
mcp = FastMCP(
    name="My Simple SDK Server",
    token_verifier=token_verifier,
    auth=auth_settings,
    host="127.0.0.1",
    port=9000
)

# 5. Manually create the token claims and encode it using jose.
claims: dict[str, Any] = {
    "iss": "https://your-awesome-mcp-server.com",
    "aud": "my-mcp-server",
    "sub": "mcp-user",
    "exp": int(time.time()) + 3600,
    "iat": int(time.time()),
    "scopes": ["data:read", "data:write"],
}
token = jwt.encode(claims, private_key_pem, algorithm="RS256")

with open("token.txt", "w") as f:
    f.write(token)

@mcp.resource("data://database")
def get_data() -> str:
    access_token: AccessToken = get_access_token()
    print(f"Scopes of token: {access_token.scopes}")
    print(f"Client id or subject: {access_token.client_id}")
    return "Secret data from the database"

if __name__ == "__main__":
    mcp.run(transport="streamable-http")
差异要点:
- 自定义验证器:实现
TokenVerifier接口;用python-jose解码 JWT,校验签名、audience与issuer。 - 手动生成密钥:使用
cryptography生成并序列化 RSA 密钥对(这就是 fastmcp 内部做的事)。 - 认证配置:实例化自定义验证器,并提供
AuthSettings。 - 挂载到服务器:
FastMCP(来自mcp.server.fastmcp)接收token_verifier与auth。 - 手动创建令牌:自己构造
claims,用私钥jwt.encode签发。
在此之前,先安装依赖库:
安装依赖
> uv add python-jose[cryptography]
客户端也更“手工化”,需要自行构造 Authorization 请求头。
walled_mcp_client.py(mcp)
import asyncio
from pathlib import Path
from datetime import timedelta

from mcp.client.streamable_http import streamablehttp_client
from mcp.client.session import ClientSession

SERVER_URL = "http://localhost:9000/mcp"

async def main():
    token = Path("token.txt").read_text().strip()

    # Manually create the headers dictionary.
    auth_headers = {"Authorization": f"Bearer {token}"}

    # Pass the headers to the client transport.
    async with streamablehttp_client(
        url=SERVER_URL,
        headers=auth_headers,
        timeout=timedelta(seconds=30)
    ) as (read_stream, write_stream, get_session_id):

        async with ClientSession(read_stream, write_stream) as session:
            await session.initialize()
            data = await session.read_resource("data://database")
            print(data)

if __name__ == "__main__":
    asyncio.run(main())
关闭先前的 fastmcp 服务器,运行新的 mcp 版本服务器;再运行该客户端。结果与 fastmcp 相同,说明两种抽象层级都能达到同样安全的效果。
终端
> python walled_mcp_client.py
meta=None contents=[TextResourceContents(uri=AnyUrl('data://database'), mimeType='text/plain', meta=None, text='Secret data from the database')]
至此,你已经掌握了保护 MCP 服务器的基础。接下来,是时候把它们从本地“搬出去”,走向真实的线上环境了。
部署:正式上线(Going Live)
在本机终端里跑一个服务器适合开发阶段,但并不是现实世界的解决方案。生产部署意味着让你的代码运行在可靠、可扩展、始终可用的服务器上。我们将探讨两种常见策略:把应用部署到现代无服务器平台(Google Cloud Run),以及部署到传统虚拟机(VM) 。
使用 Docker 与 Cloud Run 的无服务器部署
像 Google Cloud Run、AWS Lambda、Azure Functions 这样的无服务器平台是部署应用的绝佳方式。你提供容器中的代码,平台负责剩下的一切:启动服务器、在无流量时自动停止、在高并发时自动扩容。你只为实际用量付费。
我们将把一个简单的 fastmcp 服务器部署到 Google Cloud Run。流程分四步:创建项目文件、构建 Docker 镜像、部署到 Cloud Run、测试。
第 1 步:创建项目文件
先为部署项目创建一个新目录。在目录内创建以下四个文件。
应用(server.py)
这是一个最简的 MCP 服务器。注意 host 与 port 的设置。
server.py
from fastmcp import FastMCP

mcp = FastMCP("MCP Server on Cloud Run")

@mcp.tool()
def count_characters(string: str) -> int:
    return len(string)

if __name__ == "__main__":
    # Host '0.0.0.0' listens on all network interfaces, which is required for containers.
    # Cloud Run provides the port via the $PORT environment variable, which Uvicorn uses automatically.
    # 8080 is a common default.
    mcp.run(transport="http", host="0.0.0.0", port=8080)
依赖(pyproject.toml)
告诉 uv 需要安装哪些库。
pyproject.toml
[project]
name = "mcp-on-cloudrun"
version = "0.1.0"
description = "MCP on Cloud Run"
requires-python = ">=3.10"
dependencies = [
    "fastmcp==2.10.5",
]
容器构建脚本(Dockerfile)
Dockerfile 是构建容器镜像的指令集。下面这个示例使用现代的多阶段构建与 uv,兼顾速度与体积。
Dockerfile
# Start with a small, official Python image.
FROM python:3.12-slim

# Use a multi-stage build to copy the `uv` binary without its build environment.
COPY --from=ghcr.io/astral-sh/uv:latest /uv /uvx /bin/

# Copy our application code into the image.
COPY . /app
WORKDIR /app

# Install dependencies using the copied `uv` binary.
RUN uv sync

# Tell Docker which port the container will listen on.
EXPOSE $PORT

# The command to run when the container starts.
CMD ["uv", "run", "server.py"]
测试客户端(client.py)
稍后用于测试部署;它会连接到本地代理。
client.py
import asyncio
from fastmcp import Client
from fastmcp.client.transports import (
    StreamableHttpTransport,
)

client = Client(transport=StreamableHttpTransport("http://localhost:8080/mcp"))

async def main():
    async with client:
        tools = await client.list_tools()
        print(tools)

        output = await client.call_tool("count_characters", {"string": "Strawberry is delicious!"})
        extracted_text = output.content[0].text
        print(extracted_text)

asyncio.run(main())
第 2 步:构建并部署到 Google Cloud
接下来使用 gcloud 命令行工具构建镜像并部署。确保你已安装并配置好 Google Cloud SDK。
首先在 Artifact Registry 中创建一个仓库来存放 Docker 镜像。把 your-gcp-project 替换为你的实际 GCP 项目 ID。
终端
> gcloud artifacts repositories create mcp-servers --repository-format=docker --location=asia-southeast1
Created repository [mcp-servers].
使用 Cloud Build 按 Dockerfile 构建镜像并推送到刚创建的仓库。
终端
> gcloud builds submit --region=asia-southeast1 --tag asia-southeast1-docker.pkg.dev/your-gcp-project/mcp-servers/mcp-server:latest
...
IMAGES: asia-southeast1-docker.pkg.dev/your-gcp-project/mcp-servers/mcp-server (+1 more)
STATUS: SUCCESS
该命令会打包项目文件、发送到 Google Cloud Build,随后按 Dockerfile 的步骤构建镜像并保存。
权限提示:首次使用 Cloud Run 时,可能需要为你的账号授予管理部署及以服务账号身份运行的权限。通常每个项目只需执行一次。将 your-gcp-project 与 youremail@googlecloud.com 替换为你的信息。
gcloud projects add-iam-policy-binding your-gcp-project --member="user:youremail@googlecloud.com" --role="roles/run.admin"

# 获取项目编号
gcloud projects describe your-gcp-project --format='value(projectNumber)'

# 使用项目编号为默认计算服务账号授予 Service Account User 角色
gcloud iam service-accounts add-iam-policy-binding "PROJECT_NUMBER-compute@developer.gserviceaccount.com" --member="user:youremail@googlecloud.com" --role="roles/iam.serviceAccountUser"
最后,部署镜像到 Cloud Run。--no-allow-unauthenticated 使服务默认私有,这符合安全最佳实践。
终端
> gcloud run deploy mcp-server --image asia-southeast1-docker.pkg.dev/your-gcp-project/mcp-servers/mcp-server:latest --region=asia-southeast1 --no-allow-unauthenticated
Deploying container to Cloud Run service [mcp-server]... Done.
...
Service URL: https://mcp-server-214935060214.asia-southeast1.run.app
你的 MCP 服务器现在已经上线!
第 3 步:测试已部署的服务
由于我们部署的是私有服务,不能直接访问 URL。不过,gcloud 提供了一个安全本地代理,可为你处理认证。
终端
> gcloud run services proxy mcp-server --region=asia-southeast1
Proxying to Cloud Run service [mcp-server]...
http://127.0.0.1:8080 proxies to https://mcp-server-bgynkccowq-as.a.run.app
这条命令创建了一条隧道:你在本机发往 http://127.0.0.1:8080 的请求会被安全转发到线上 Cloud Run 服务。
现在打开一个新终端,运行先前创建的 client.py。
终端
> python .client.py
[Tool(name='count_characters', ...)]
24
成功!你的本地客户端脚本已经与全球可达、可扩展且安全的 MCP 服务器完成了通信。
第 4 步:清理资源
不再使用的资源最好及时清理,以免产生费用。
终端
> gcloud run services delete mcp-server --region=asia-southeast1
Service [mcp-server] will be deleted.
Do you want to continue (Y/n)?  Y
Deleted service [mcp-server].
在虚拟机上手动部署
有时你需要比无服务器平台更高的掌控力。将应用部署到 VM 能让你完全控制操作系统、网络与已安装软件。代价是你需要自己负责运维与安全。
通用做法:让 Python 服务器监听一个高位端口(如 8080 或 9000),并用成熟的 Web 服务器 Nginx 作为反向代理。Nginx 监听标准端口(80/443),再把流量转发给应用。
第 1 步:准备 VM 与应用
先在你喜欢的云商处开一台 VM(例如 GCP/AWS/DigitalOcean 上的 Ubuntu 24.04 LTS)。确保服务器能接收 HTTP 流量。SSH 登录后:
创建服务器目录、用 uv 配环境、安装 fastmcp。
VM 终端
$ mkdir mcp_server
$ cd mcp_server
$ wget -qO- https://astral.sh/uv/install.sh | sh
$ source $HOME/.local/bin/env
$ uv init
$ uv add fastmcp
在 VM 上创建 server.py。
server.py
from fastmcp import FastMCP

mcp = FastMCP("My MCP Server")

@mcp.tool()
def count_characters(string: str) -> int:
    return len(string)

if __name__ == "__main__":
    mcp.run(transport="http", host="0.0.0.0", port=9000)
这与 Cloud Run 的示例相同,只是端口换成 9000。
第 2 步:让 MCP 服务器常驻运行
不能直接 python server.py 后关闭 SSH,因为进程会随会话终止。一个简单有效的后台运行工具是 screen。
VM 终端
# 启动名为 'mcp' 的 screen 会话
$ screen -S mcp

# 在 screen 中进入项目并运行服务器
$ cd mcp_server
$ source .venv/bin/activate
$ python server.py

# 按 Ctrl+A 再 Ctrl+D 退出会话,进程仍在后台运行
# 随时可用 `screen -r mcp` 重新连接
第 3 步:将 Nginx 配置为反向代理
安装 Nginx 并设置为开机自启。
VM 终端
$ sudo apt update
$ sudo apt install nginx -y
$ sudo systemctl enable nginx
为服务创建 Nginx 配置。假定域名是 app.example.com,希望在路径 /mcp-server/ 下提供 MCP 服务。
VM 终端
$ sudo vim /etc/nginx/sites-available/app.example.com.conf
加入以下配置:
/etc/nginx/sites-available/app.example.com.conf
server {
        listen 80;
        listen [::]:80;

        server_name app.example.com;

        location /mcp-server/ {
                proxy_pass http://localhost:9000/;

                proxy_set_header Host $host;
                proxy_set_header X-Real-IP $remote_addr;
                proxy_set_header X-Forwarded-For $proxy_add_x_forwarded_for;
                proxy_set_header X-Forwarded-Proto $scheme;
        }

        root /var/www/app.example.com;
        index index.html;

        location / {
                try_files $uri $uri/ =404;
        }
}
启用该配置、创建测试页并重启 Nginx:
VM 终端
$ sudo ln -s /etc/nginx/sites-available/app.example.com.conf /etc/nginx/sites-enabled/
$ sudo mkdir -p /var/www/app.example.com
$ echo "Nginx is working!" | sudo tee /var/www/app.example.com/index.html
$ sudo systemctl restart nginx
第 4 步:测试
在本地机器上,先让你的电脑知道 app.example.com 指向 VM 的公网 IP。编辑 hosts 文件:
- Windows:
C:WindowsSystem32driversetchosts - macOS/Linux:
/etc/hosts
添加一行:YOUR_VM_IP_ADDRESS app.example.com
在 Windows 上可通过下列命令刷新 DNS 解析缓存:
刷新 DNS 缓存
> ipconfig /flushdns
在本地创建一个指向新 Nginx 代理 URL 的客户端脚本:
local_vm_client.py
import asyncio
from fastmcp import Client
from fastmcp.client.transports import (
    StreamableHttpTransport,
)

client = Client(transport=StreamableHttpTransport("http://app.example.com/mcp-server/mcp/"))

async def main():
    async with client:

        tools = await client.list_tools()
        print(tools)

        output = await client.call_tool("count_characters", {"string": "Strawberry is delicious!"})

        extracted_text = output.content[0].text

        print(extracted_text)

asyncio.run(main())
运行该客户端。它会连接到 app.example.com,由 Nginx 接收请求并转发到正在运行的 Python 进程,你将获得返回结果。至此,你已在传统 VM 上成功部署并对外暴露你的 MCP 服务器。
关键要点(Key Takeaways)
本章带你完成了从本地原型到生产级服务的关键旅程,为你的 MCP 工具箱新增了两项至关重要的能力。
-
认证不可或缺:你学会了使用 JWT Bearer Token 为服务器加固——这是一种标准且可扩展的方法。现在你可以保护你的工具,防止未授权访问。
-
授权让工具更有力量:借助
get_access_token(),你的工具可以检查客户端的身份(client_id)与权限(scopes),从而实现强大而细粒度的访问控制逻辑。 -
多样的部署选项:你不再被本地机器束缚。你已经掌握如何:
- 使用 Docker 打包应用,获得最大可移植性;
- 部署到 Google Cloud Run 等无服务器平台,获得可扩展性与易运维;
- 部署到传统 VM + Nginx,获得最大掌控力与灵活性。
至此,你已具备构建、加固、部署健壮的、面向真实场景的 MCP 应用的完整能力。
如何学习大模型?
学习AI大模型是一个系统的过程,需要从基础开始,逐步深入到更高级的技术。
这里给大家精心整理了一份全面的AI大模型学习资源,包括:AI大模型全套学习路线图(从入门到实战)、精品AI大模型学习书籍手册、视频教程、实战学习、面试题等,资料免费分享!
这是一份大模型从零基础到进阶的学习路线大纲全览,小伙伴们记得点个收藏!
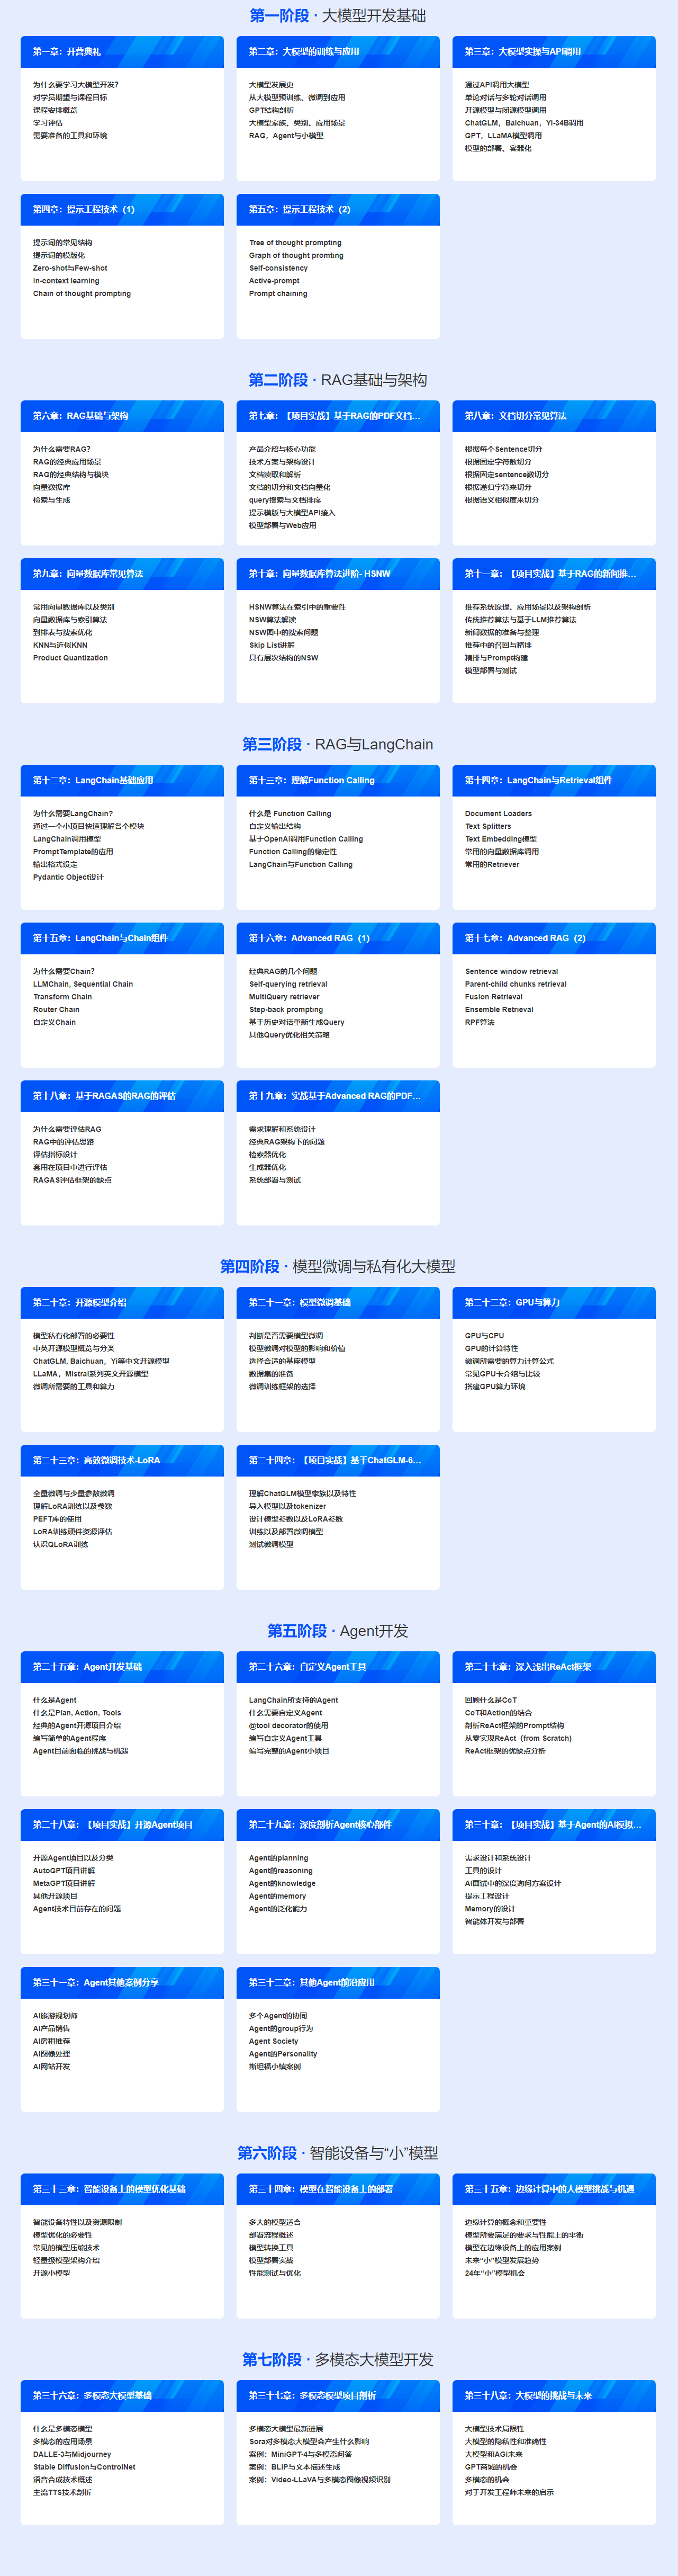
100套AI大模型商业化落地方案

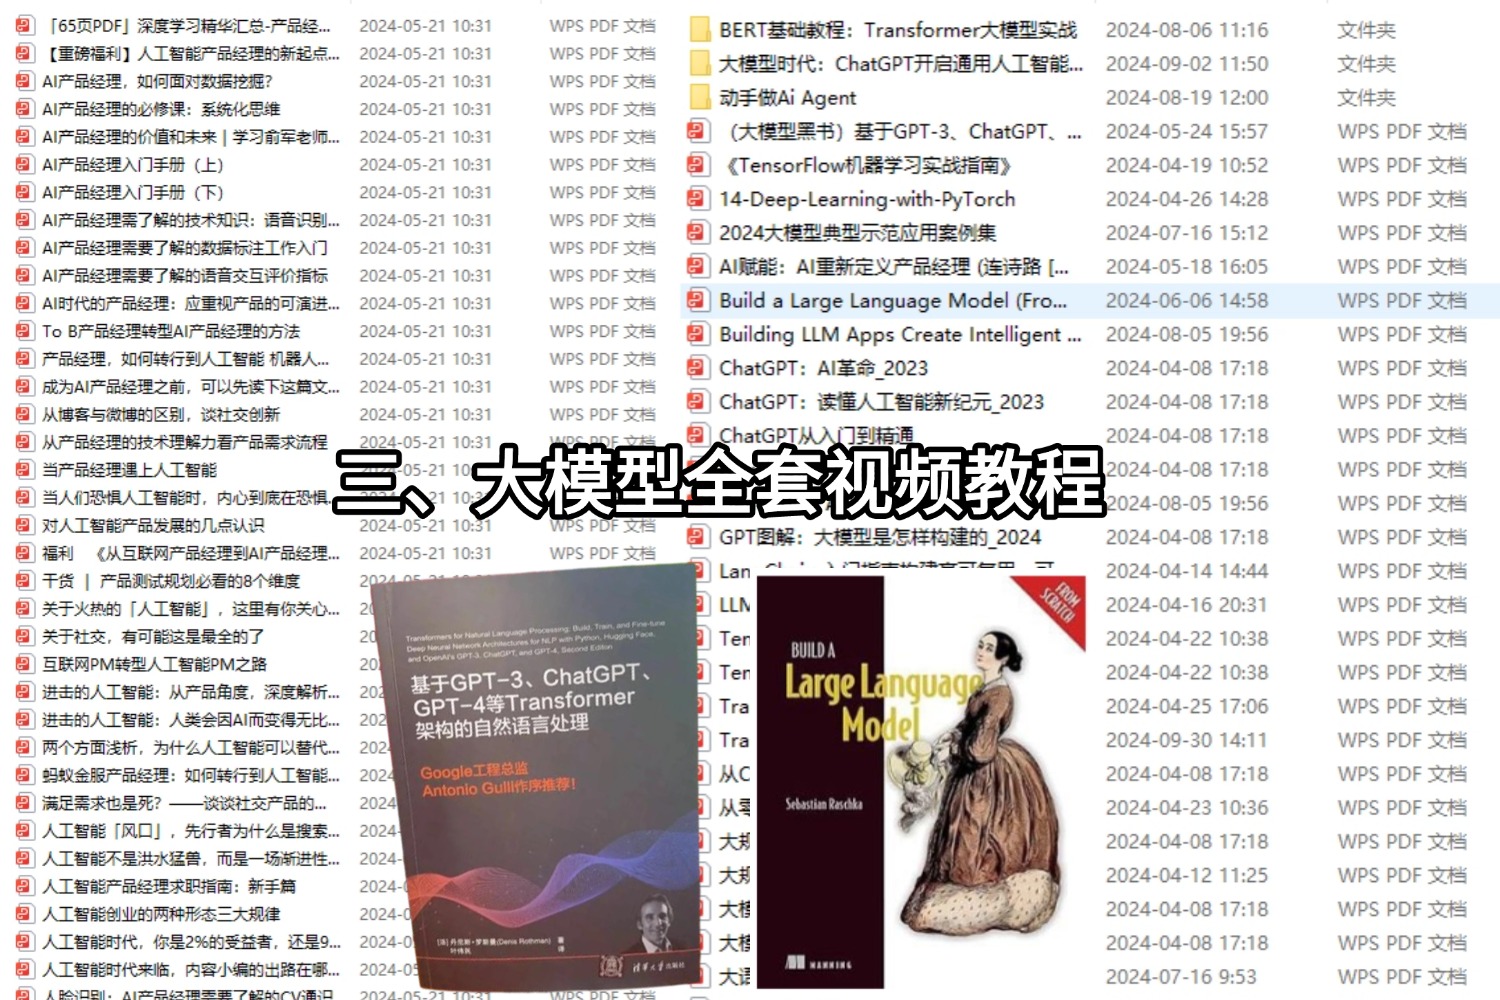
大模型全套视频教程

200本大模型PDF书籍
👉学会后的收获:👈
• 基于大模型全栈工程实现(前端、后端、产品经理、设计、数据分析等),通过这门课可获得不同能力;
• 能够利用大模型解决相关实际项目需求: 大数据时代,越来越多的企业和机构需要处理海量数据,利用大模型技术可以更好地处理这些数据,提高数据分析和决策的准确性。因此,掌握大模型应用开发技能,可以让程序员更好地应对实际项目需求;
• 基于大模型和企业数据AI应用开发,实现大模型理论、掌握GPU算力、硬件、LangChain开发框架和项目实战技能, 学会Fine-tuning垂直训练大模型(数据准备、数据蒸馏、大模型部署)一站式掌握;
• 能够完成时下热门大模型垂直领域模型训练能力,提高程序员的编码能力: 大模型应用开发需要掌握机器学习算法、深度学习框架等技术,这些技术的掌握可以提高程序员的编码能力和分析能力,让程序员更加熟练地编写高质量的代码。
LLM面试题合集
大模型产品经理资源合集

大模型项目实战合集

😝有需要的小伙伴,可以扫描下方二v码免费领取【保证100%免费】🆓